Soil For Roses
Besides the right location, the soil for roses is an important factor to grow healthy and beautiful plants
Once roses are planted in the garden, they will be tied to the same place for several years. Hence, the importance of the location and the soil is essential for the plants to feel comfortable.
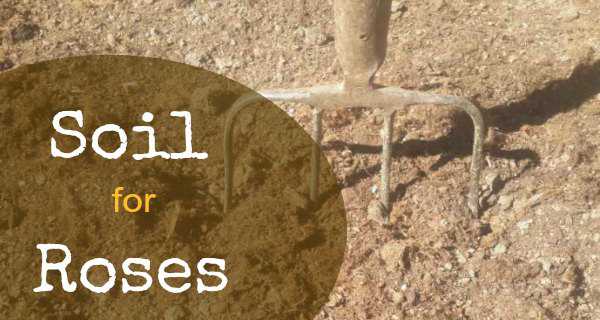
The soil not only gives footing it also supplies the plant with water and nutrients. Roses are deep-rooting plants and sometimes go as deep as 60 inches and more.
Perfect Soil For Roses In A Garden
Unfortunately, most of us don’t have a garden with perfect soil. Mostly we have to help make it happen. The good news is: almost all soils are suitable for the rose culture, at least when we prepare the soil a bit.
On this page
- How to Identify the pH-Value of the Soil
- How To Adjust The pH-Value
- How to carry out a soil test
- The Essential Thing Is A Good Soil Preparation
You should also read...
But what are the best soil conditions for roses, what do they love?
Roses favor a humic, sandy-loamy soil with a pH-value between 6.5 and maximum 7.5.
If you want to be serious about rose gardening, it is crucial to know the soil conditions of your garden.
Plants can’t take up nutrients if your soil isn’t within the suitable pH-value range, even if there is a high amount of nutrients in the soil.
How To Identify The pH-Value Of The Soil
To determine the pH-value and the nutrient content of your soil, it is necessary to test it. Don’t worry, as always I like it the easy-rose-gardening way.
- Buy a DIY-kit at your garden supply shop or online and follow the instructions. The gadget will give you a rough picture of your soil values
- Have a lab test it: Spent some cents more to be sure about your soil composition and get a much more thorough test from your county extension office.
You will get exact information about your soil as well as a recommendation about how much and what fertilizer to use.
How To Adjust The pH-Value
The ideal pH-value for roses is 6.5 on the pH-scale, but what to do if the value is above or beneath the ideal value?
If the pH-value is too acidic (lower than 5.5) or too alkaline (above 7.5), the soil has to be adjusted by adding some elements in small amounts.
- pH-value lower than 5.5: Add some agricultural limestone to the soil to increase the pH-value
- pH-value higher than 7.5: aluminum sulfate or sulfur can be used to lower the pH-value
Apply the additives in small amounts and test the pH a few times before adding any more. Always keep an eye on the values and the plants whether there is any changing of their natural foliage coloration.
How to carry out a soil test
To get an overall picture of your soil, take several samples of the location where you want to plant your roses.
- Remove mulch and organic debris from the top of the soil
- Make sure your shovel, spoons and any other working tools are clean and do not use brass or galvanized tools
- Take samples from 6 to 8 inches. The soil composition varies with the deep and across the surface of the soil. Therefore, several samples should be taken from several spots of the plot.
- Use clean zip-lock bags and put the samples in it
- Label the bags to the location of the soil
- The soil shouldn't be wet when tested. Allow the samples to dry overnight
- Remove all stones and solids and crumble the sample
- The sample is now ready for testing, whether by DIY pH-test kit or to send it to a test lab
The Web is a great source to find several gadgets to test the pH-value of your soil and other useful things to improve the soil.
The Essential Thing Is A Good Soil Preparation
Especially if the soil for roses is not perfect, soil preparation requires some lead time.
Since roses have a deep rooting system, particularly heavy soil should be aerated about two spades deep 1-2 months before planting. This also applies to gardens of new buildings whose soil has been heavily compacted by the use of construction machinery.
For medium and light soil, you just need to loosen the soil shortly before the roses are planted.
In wet soil, you cannot avoid installing a drainage. Otherwise, your roses will not thrive.
Remove the retained roots of root spreading weeds carefully when loosening the soil. Unlike seed-weeds, which are easily removed by plucking or chopping, root spreading weeds sprout again and again from the retained roots remaining in the soil.
Compost improves both heavy and light soil. It is best to work in the compost for a humus-poor soil of 50-100 lt. per 3 square feet. This can, of course, be done all-in-one working step with the soil-aerating.




New! Comments
Have your say about what you just read! Leave me a comment in the box below.